


Which Ninja Crispi?
Mode used: Bake
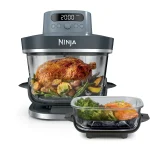 Ninja Crispi Pro (AS101)
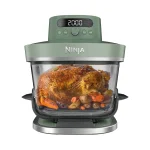 Ninja Crispi Pro (AS090)
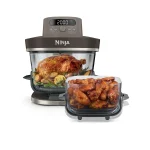 Ninja Crispi Pro Grill (AS104)
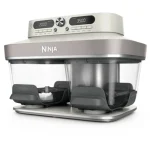 Ninja Crispi DualZone (DD102)
Settings
- Crispi Pro (AS101), Crispi Pro (AS090): Bake, 160 °C, 8-10 min
- Crispi DualZone: Bake, 160 °C, 8-10 min, 3.8 L container
Recipe not suited to the basic Crispi: without a temperature setting, cookie dough does not translate reliably.
The limited space in the Crispi requires adjustment when preparing doughs that melt. These Ninja Crispi cookies are all about the spread: the balls of dough need room to settle in the heat. A miscalculation and you end up with one giant cookie. I use the large crisper plate and make sure to space out each portion well.
The Bake mode mimics the gradual heat of a traditional oven. The edges take on a lovely golden colour while the centre remains very pale. I always switch off before the biscuit looks fully set, as that is what gives it that soft American-style texture.
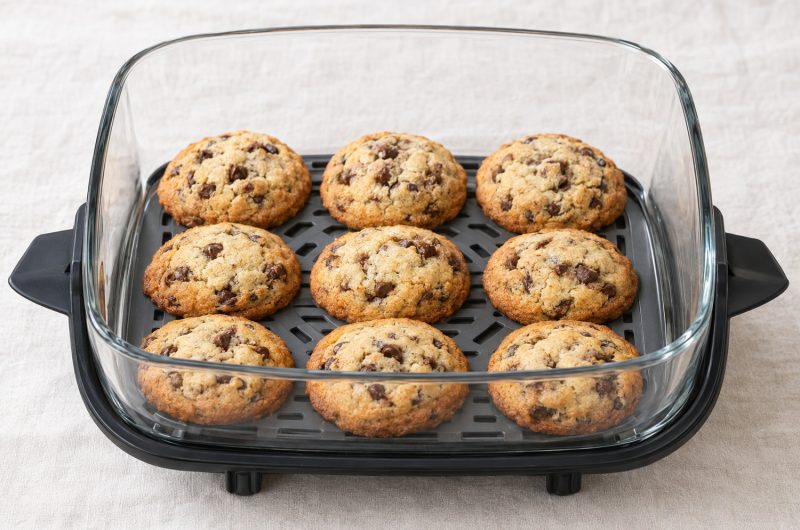
Ninja Crispi cookies: the art of spacing for a chewy centre
Course: DessertCuisine: AmericanDifficulty: Easy8
cookies15
minutes10
minutes25
minutesWell-spaced portions on the crisper plate for thick cookies, golden at the edges and melting in the centre.
Ingredients
120 g softened butter
80 g soft brown sugar
60 g caster sugar
1 egg
1 teaspoon vanilla extract
180 g flour
1/2 teaspoon baking powder
1 pinch of salt
150 g dark chocolate chips
Instructions
- In a large bowl, whisk the softened butter, brown sugar, and white sugar until the texture becomes creamy and slightly lighter in colour.
- Whisk in the egg and the vanilla extract. Add the flour, baking powder, and salt using a spatula. Stop mixing as soon as the dough forms a uniform mass.
- Pour the dark chocolate chips into the mixture. Form thick discs about 2 cm thick.
- Put the crisper plate in the 5.7 L container of the Crispi Pro. Arrange a few balls of dough on the crisper plate, leaving at least 3 to 4 cm between each ball to allow them room to spread.
- Slot the container into the low position. Set Bake mode at 160 °C for 8 to 10 minutes and press START.
- Stop the appliance as soon as the edges turn golden: the middle will still be domed and soft. Leave to rest for 5 minutes on the hot crisper plate before removing them.
Pecan cookies
Replace 50 g of chocolate chips with chopped pecans for extra crunch.
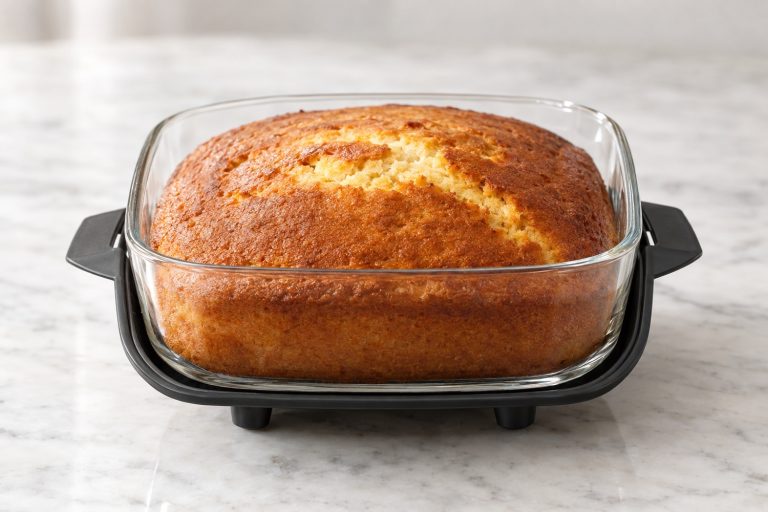


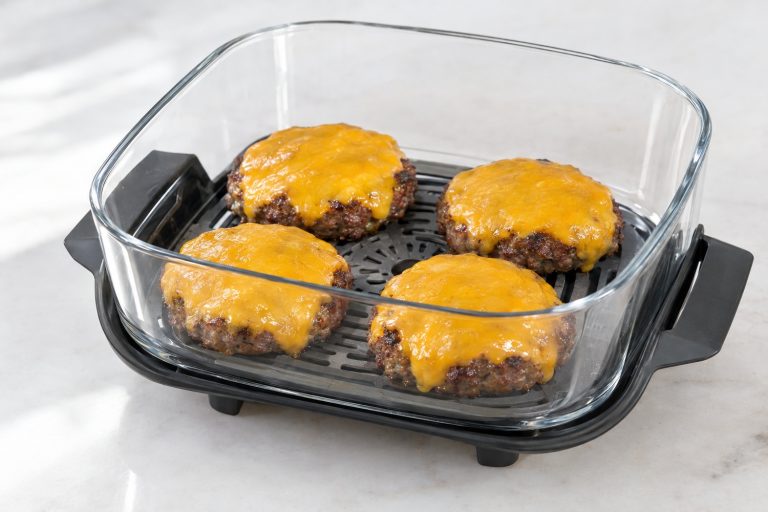
Bake on the Crispi Pro: the heat that makes the dough spread
The Bake mode on the Crispi Pro heats the dough so that the butter melts gradually and the dough spreads. I bake these cookies in the 5.7 L container to space the portions out as much as possible. The basic Crispi is not suited to this dough.
- Crispi Pro and Pro 5 modes: Bake mode at 160 °C for 8 to 10 minutes.
- DualZone: Bake mode at 160 °C for 8 to 10 minutes, with the dough balls set directly on the crisper plate of the 3.8 L container.
- Basic Crispi: recipe not suited. Without a temperature setting, cookie dough does not translate reliably.
On the Crispi Pro, put the crisper plate in the 5.7 L container, arrange the dough balls, slot the container into the low position, select Bake at 160 °C for 8 to 10 minutes and press START. Heat circulates well between portions if the initial spacing exceeds 3 centimetres.
Reading the bake through the glass
The colour gives you the precise indication of when to stop. A cookie taken out of the container fully cooked in the centre will inevitably become dry after cooling.
Look for the moment when the edge of the biscuit shows a golden hue. At this point, the centre remains puffed, very pale, almost wobbly. This is the exact signal to turn off the appliance. The metal crisper plate maintains gentle heat that firms up the base during the required rest time.
If your dough balls touch and fuse together, do not extend the cooking time: you will get a flat but cooked biscuit. To avoid this problem with dough that warms up quickly in the hands, place your portions in the fridge for 30 minutes before arranging them.
Subsequent batches and storage
In the 2.3 L container, allow three or four batches. Prepare all the balls in advance on a board. Wait for the crisper plate to cool down slightly between batches, otherwise the butter will melt before baking.
Complete cooling is necessary before placing in an airtight container. These biscuits retain their texture for up to three days at room temperature.
For a warm centre, I use my basic Crispi: its Keep Warm mode (70 °C) warms the cookies in a few minutes, just before serving.
Do you manage to switch off the appliance when the centre still looks raw, or has your classic oven habit taken over?
Frequently asked questions
Can I use baking parchment in the Crispi?
On the Crispi Pro, yes. It is not allowed in the basic Crispi containers. The crisper plate is sufficient if you let it cool slightly before lifting off the cookies.
Can I use a ready-to-bake roll of dough from the chilled section?
Yes. Slice the ready-to-use log of dough into regular 2 cm thick discs. The spacing instructions and stopping cues remain identical to homemade dough.
How do I prevent the dough from spreading too much and turning into thin discs?
Make sure your butter is softened, not melted. If the dough is very soft, place it in the fridge for 30 minutes before forming the balls.
Would you cook it again?
5.0 of 5 based on 1 verdict
Your verdict once you have cooked it